This documentation is provided for informational purposes only and demonstrates how to configure and use our API with third-party AI chat interfaces. Any third-party software, websites, or services mentioned are not operated, controlled, or endorsed by us.
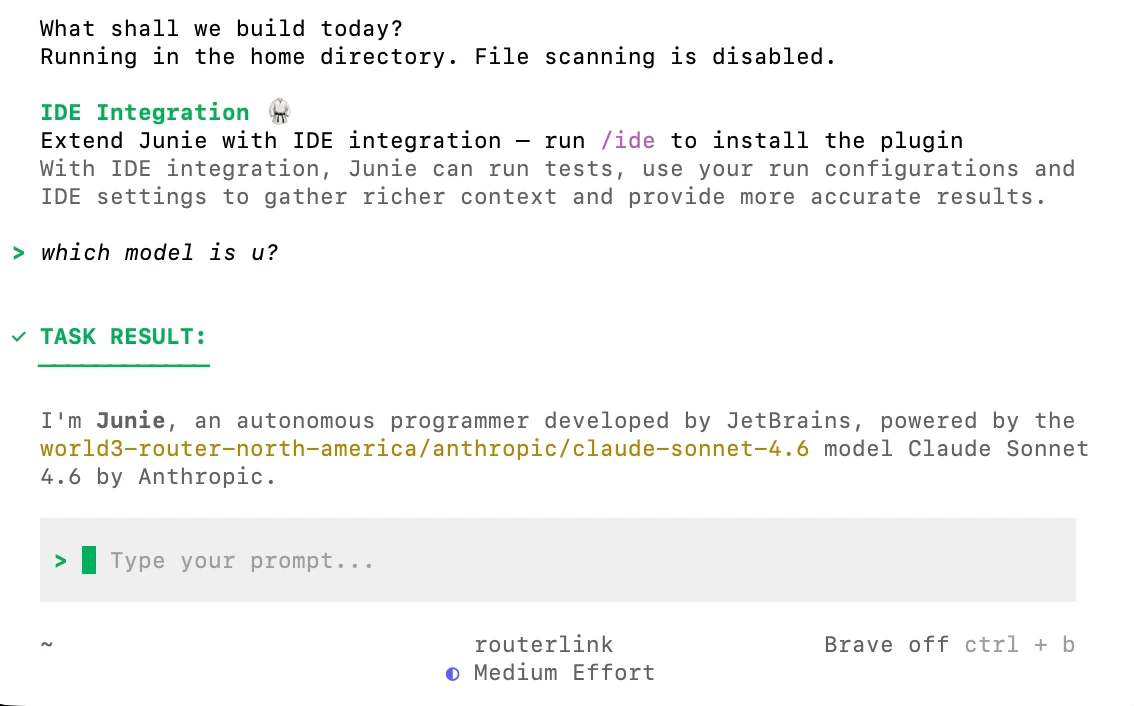
Introduction to Junie CLI
- AI coding agent in terminal
- Multi-model (OpenAI, Anthropic, etc.)
- Real-time interactive tasks
- Deep codebase understanding
- Plan mode (safe preview)
- Command execution & automation
- CI/CD & Git integration
- Extensible (custom commands, MCP)
Step
Install Junie CLI
- CLI - Node.js
- CLI - Native Install
Windows users may be unable to run scripts because of digital signature requirements. Please run the following command:Firstly, install the newest LTS version of Node.js, and then use npm to install it globally in the terminal:
Windows PowerShell:
Configure Junie CLI
Edit or create You can replace the “id” field with any model that is compatible with the OpenAI format: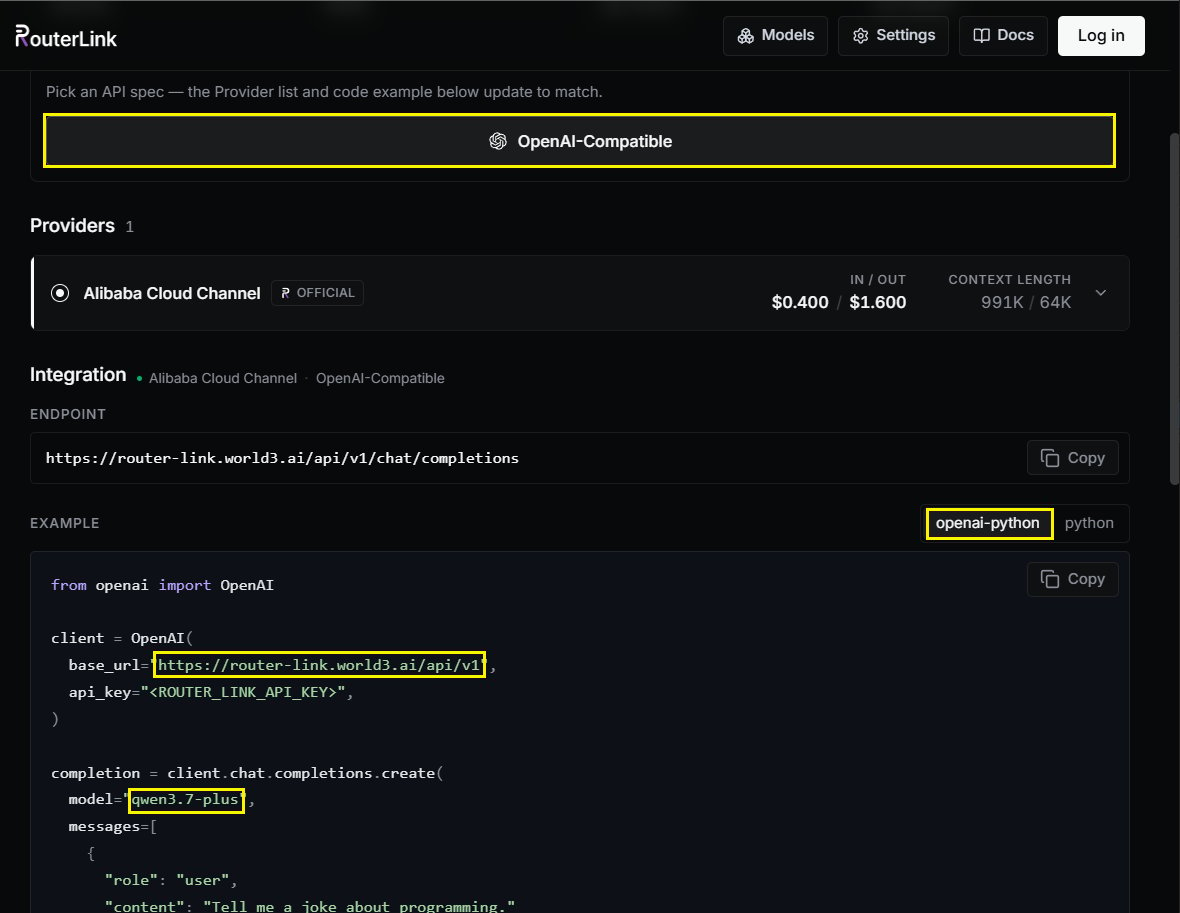
routerlink.json fileOn macOS & Linux: ~/.junie/models/routerlink.jsonOn Windows: C:\Users\<USERNAME>\.junie\models\routerlink.jsonMake sure to replace <ROUTERLINK_API_KEY> with your API key from RouterLink. When replacing it, do not keep the angle brackets < and >.First launch
Windows users may encounter issues running the software due to missing VC runtime libraries. Please download and install this software.Navigate to the root directory of the project where you want to use Junie CLI and run :
💡 Quick Examples
Build a new project
Analyze a project
Fix bugs
🐙 GitHub integration
To set up a GitHub Action to let Junie respond to issues, PRs, and CI failures automatically, simply run this command inside the agent:See the full cookbook: Junie on GitHub.