> ## Documentation Index
> Fetch the complete documentation index at: https://docs.routerlink.ai/llms.txt
> Use this file to discover all available pages before exploring further.
# Cline Plugin
> This documentation is provided for informational purposes only and demonstrates how to configure and use our API with third-party AI chat interfaces. Any third-party software, websites, or services mentioned are not operated, controlled, or endorsed by us.
# **Introduction to Cline Plugin**
 [Cline](https://github.com/cline/cline) is an AI coding agent that lives in your editor and your terminal. It can read and write files, run terminal commands, use a browser, and help you build features through natural conversation. Every action requires your explicit approval. You’re always in control.
# **Step**
**Install** the [**Cline extension**](https://marketplace.visualstudio.com/items?itemName=saoudrizwan.claude-dev) from the [**VS Code**](https://code.visualstudio.com/download) Marketplace.
[Cline](https://github.com/cline/cline) is an AI coding agent that lives in your editor and your terminal. It can read and write files, run terminal commands, use a browser, and help you build features through natural conversation. Every action requires your explicit approval. You’re always in control.
# **Step**
**Install** the [**Cline extension**](https://marketplace.visualstudio.com/items?itemName=saoudrizwan.claude-dev) from the [**VS Code**](https://code.visualstudio.com/download) Marketplace.
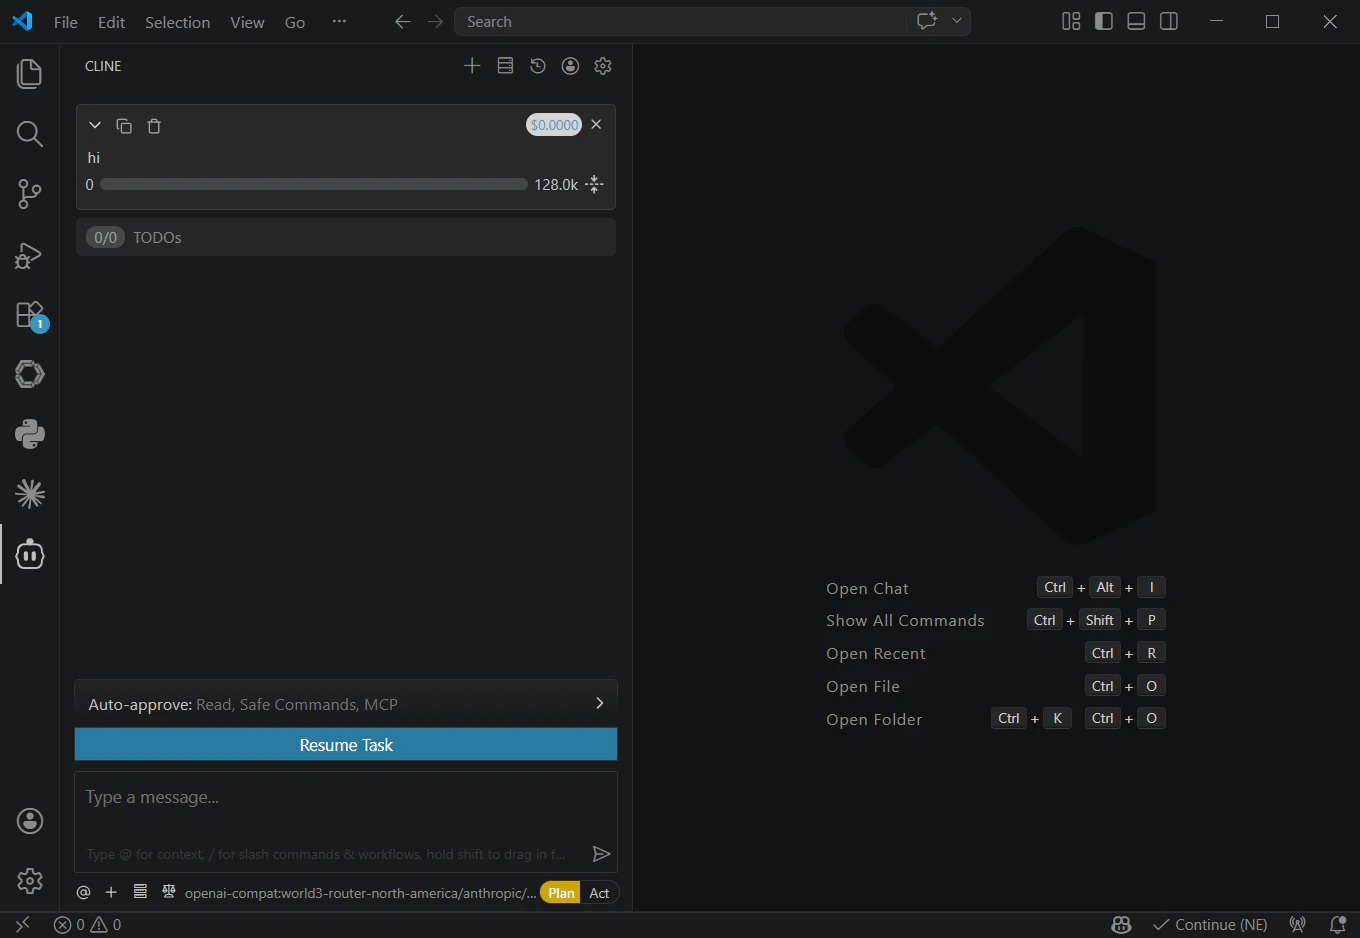
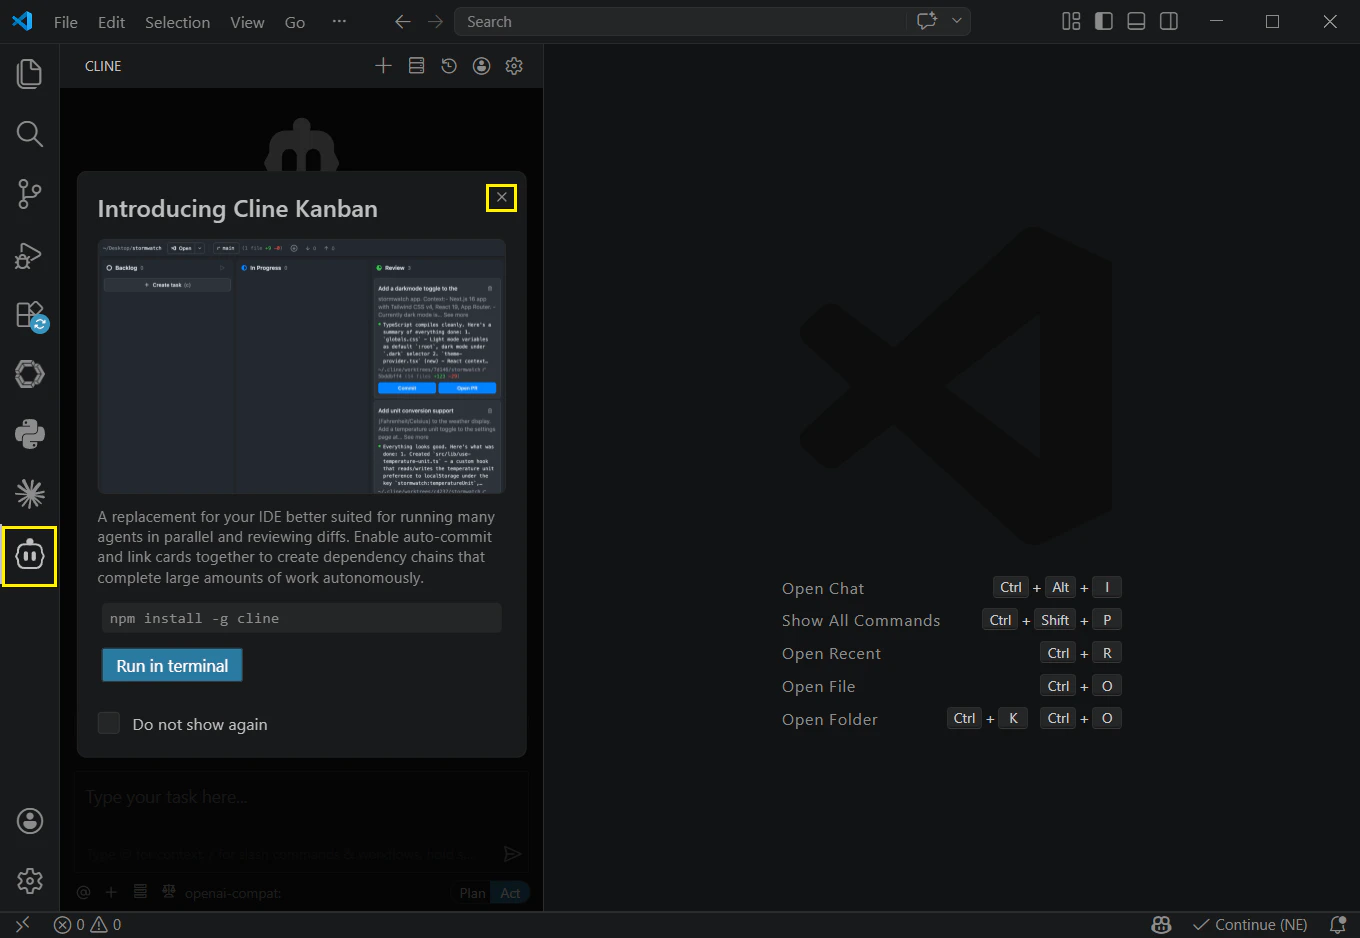
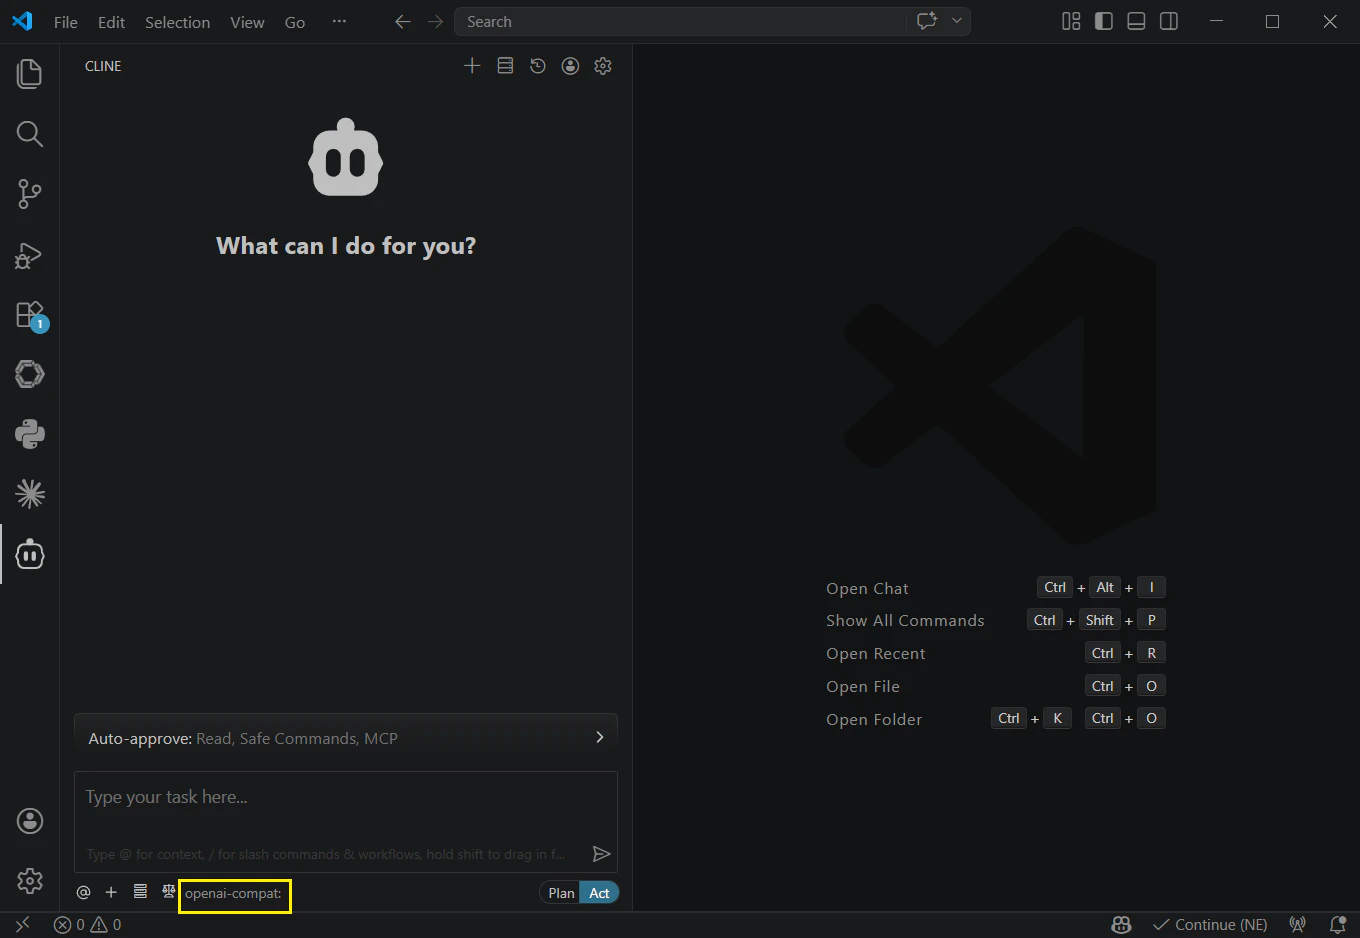
 Click the “Cline” icon on the sidebar to launch. and click x. If “How will you use Cline” appears, please select “Absolutely Free”.
 Select API Provider.
 Enter the following configuration information in these fields.
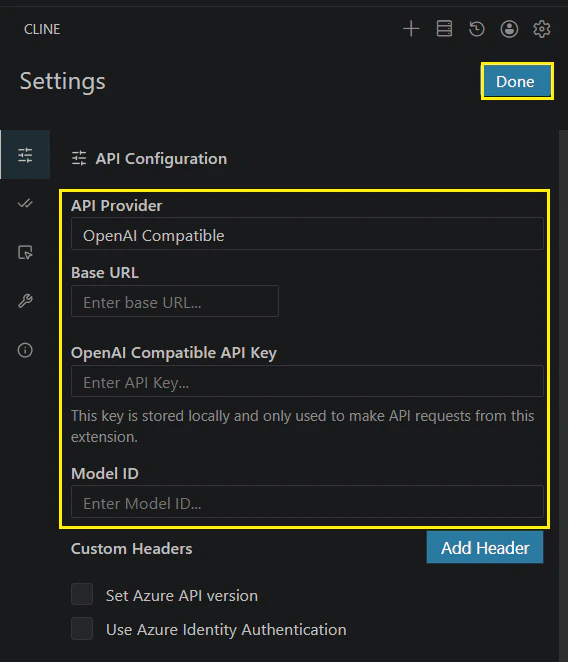 Example using claude-opus-4.7 with the API format set to OpenAI. Then click “Done”.
| Field | Content |
| :----------- | :--------------------------------------------------------------------------- |
| API Provider | Select "OpenAI Compatible" |
| Base URL | [https://router-link.world3.ai/api/v1](https://router-link.world3.ai/api/v1) |
| API Key | Obtain one from [RouterLInk](https://routerlink.ai/settings/api-keys) |
| Model ID | claude-opus-4-7 |
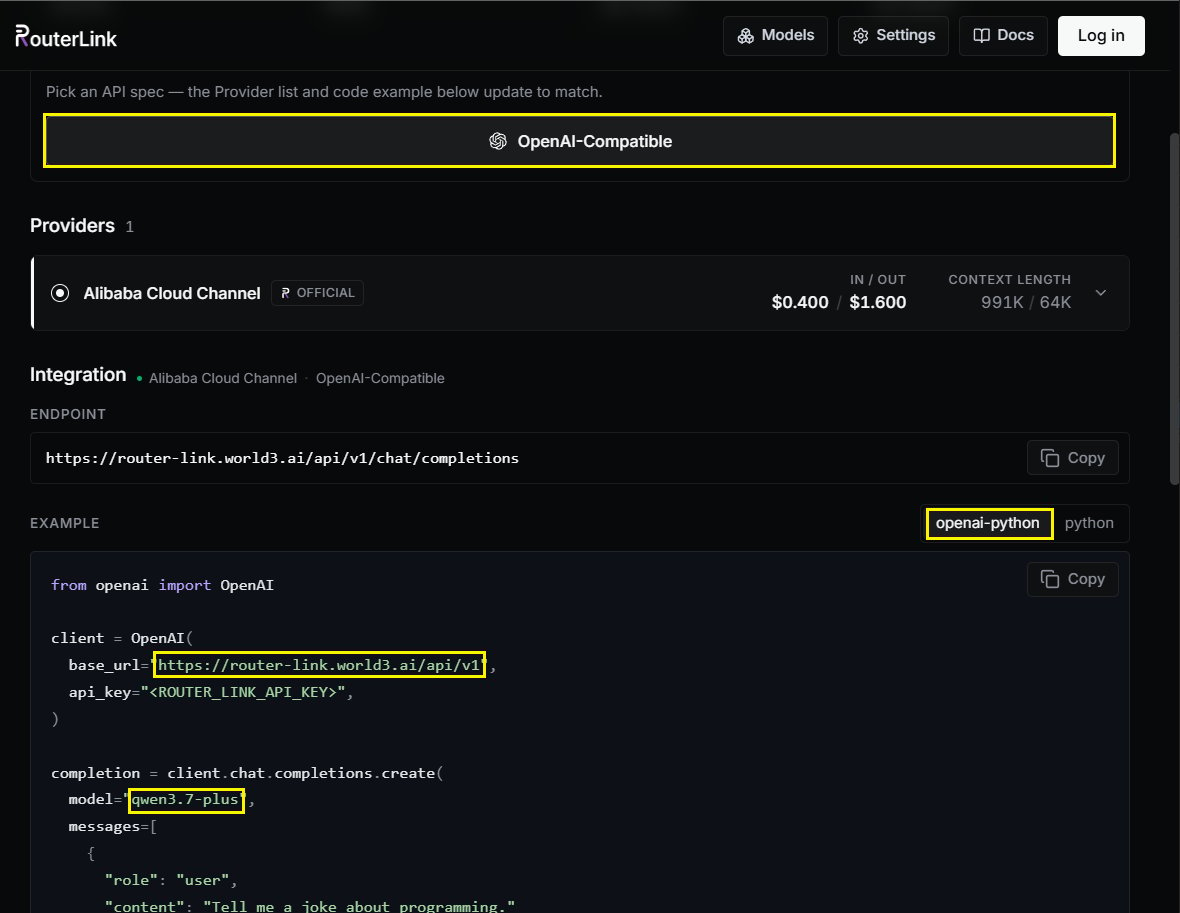
You can change the [model](https://routerlink.ai/models) manually with the Model ID (OpenAI-compatible API format is required):
Example using claude-opus-4.7 with the API format set to OpenAI. Then click “Done”.
| Field | Content |
| :----------- | :--------------------------------------------------------------------------- |
| API Provider | Select "OpenAI Compatible" |
| Base URL | [https://router-link.world3.ai/api/v1](https://router-link.world3.ai/api/v1) |
| API Key | Obtain one from [RouterLInk](https://routerlink.ai/settings/api-keys) |
| Model ID | claude-opus-4-7 |
You can change the [model](https://routerlink.ai/models) manually with the Model ID (OpenAI-compatible API format is required):
 Above the input box, you can use Auto-approve to configure Cline’s read/write permissions and command execution permissions. Enabling these permissions can enhance automation capabilities, but may also increase token usage, so it’s recommended to enable them only after fully understanding Cline’s behavior.
Cline provides two working modes, which can be switched at the bottom of the dialog:
* Plan mode: Focuses on information gathering, problem breakdown, and task planning without directly modifying files.
* Act mode: Executes changes, runs commands, and completes tasks based on the plan.
Above the input box, you can use Auto-approve to configure Cline’s read/write permissions and command execution permissions. Enabling these permissions can enhance automation capabilities, but may also increase token usage, so it’s recommended to enable them only after fully understanding Cline’s behavior.
Cline provides two working modes, which can be switched at the bottom of the dialog:
* Plan mode: Focuses on information gathering, problem breakdown, and task planning without directly modifying files.
* Act mode: Executes changes, runs commands, and completes tasks based on the plan.